Islamic Five-Fold Geometry & the 54 Degree Rectangle
 Chris
Chris 
How to construct the 54 degree rectangle used in five-fold Islamic geometric patterns. Applying the Golden Ratio.
Over many years (on and off), I have had a number of unsuccessful attempts at trying to figure out how to create Islamic geometric patterns.
In 2020, I stumbled upon Mohamad Aljanabi’s Facebook group with its wealth of free tutorials to download and complete. Soon after joining, Mohamad announced some online courses, so I signed up to the Four-Fold and Six-Fold Foundation Course.
Dynamic Symmetry
All of a sudden, these patterns came to life as soon as Mohamad mentioned Dynamic Symmetry, and he explained how Dynamic Symmetry plays an important part in the creation of authentic Islamic geometric patterns.

Now I am enrolled in the Five-Fold Foundation Course, and Mohamad has revealed a rectangle that I have been drawing for years; never realising it’s usefulness as a unit-of-repetition for patterns, nor it’s properties for building both simple and complex five-fold geometric patterns.
It’s not the Golden Rectangle, nor the Root-Five rectangle.
Introducing the …
The 54 Degree Rectangle

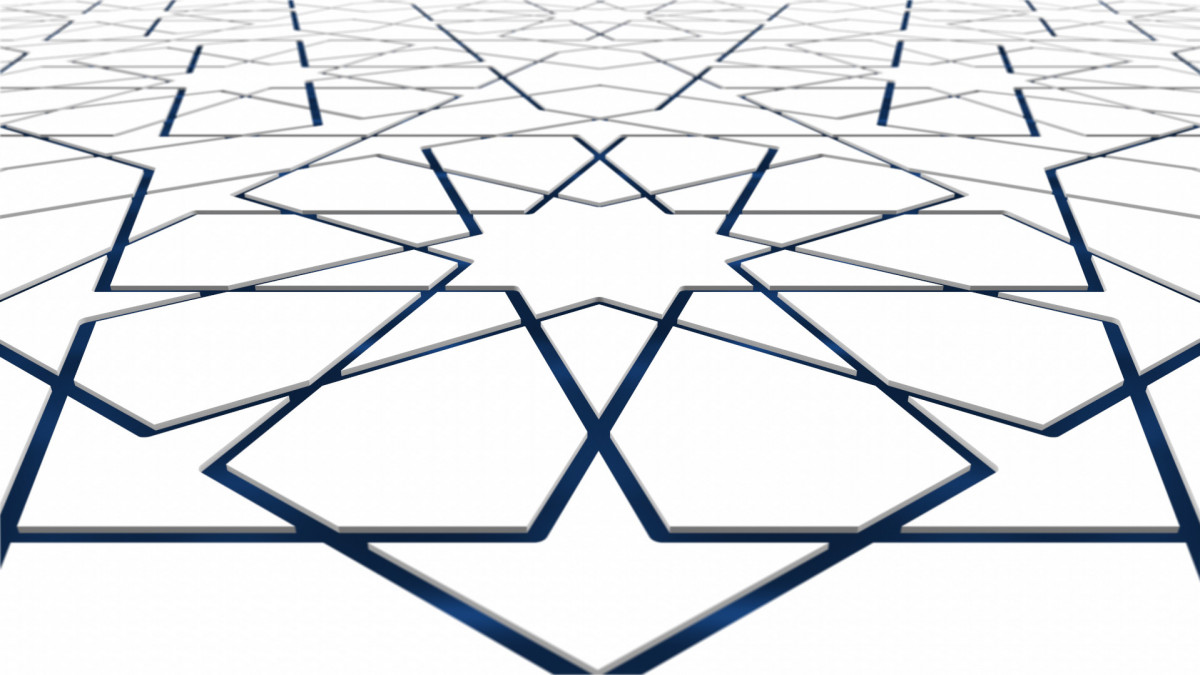
The 54˚ rectangle, also referred to as the Standard Rectangle, is used in traditional Islamic geometric design to determine the size and location of each and every line in many five-fold patterns. It is also the unit-of-repetition in these patterns. As with four-fold and six-fold patterns that utilise the root-two rectangle and root-three rectangle respectively, the 54˚ rectangle is used for the tessellation of five-fold patterns.
I have come across this rectangle before. It is referred to a number of times in Samuel Colman’s book “Nature’s Harmonic Unity”, but not in relation to Islamic patterns.

Samuel Colman shows how this rectangle correlates with the proportions of, for example, plant seeds, and the logarithmic spiral of the Nautilus shell.
Constructing the 54 Degree Rectangle
As with many of Mohamad’s lessons, the first thing we learn to do is to construct the rectangles that will be used to build and tessellate the finished pattern.
One thing I noticed in the course was the need to first construct a root-two rectangle. This stuck me as odd, but sort of made sense given that drawing an initial rectangle like the root-three rectangle would just waste paper. The root two rectangle is just a little longer than the 54˚ rectangle, so if drawing by hand (not CAD), paper is not wasted. Any rectangle with slightly longer lines will do. The reason for drawing an intermediary rectangle is to more easily establish the vertical sides of the finished 54˚ rectangle, but is it necessary to do it this way?
There was also a line extension, albeit a small one. In the construction of the 54˚ rectangle below, the location of Point E is established using geometry. The 18˚ line is drawn from Point B to Point E, then it’s extended to Point F.

I struggled a bit with drawing the 18˚ line accurately, and this made it difficult to reproduce a rectangle with a diagonal of 54˚. With more practice I know I will get there; practicing geometrical drawing does improve accuracy over time. But, I began to wonder...
What if the 54˚ rectangle could be constructed using Mohamad’s rules and principles, without extending any lines?
By answering this question, hopefully I will be adding to the body of knowledge that Mohamad has generously shared with the world.
The Golden Ratio

I set out to find a way to build the 54˚ rectangle without any line extensions and without the need to draw an intermediary rectangle like the root-two rectangle.
Intuitively, I knew the golden ratio would play a role in building the 54˚ rectangle, and after a number of attempts… success!
The initial line establishes the first two corners (A and B) of the rectangle. Without an intermediary rectangle, at least two sets of curves and lines would be required to establish the location of the third corner (C).
Starting with line AB, the steps below demonstrate how to create the 54˚ rectangle.
How to Create the 54 Degree Rectangle in 12 Easy Steps
The objective here is , starting with a line of any length (Line AB), locate points C & D. Points C & D define the location of the two remaining corners for the 54˚ rectangle.

Step 1. Draw a square with sides equal in length to line AB, and draw diagonal lines from each corner to the opposite corner, and a vertical line and horizontal line through the centre.
Step 2. Draw an arc as shown where the radius is equal in length to the line AB, and centred at the lower-right corner of the square.

Step 3. Draw a line AG as shown from the lower-left corner of the square to the point that is half the height of the square on the right side.
Step 4. Centred on the end of the line half way up the right side of the square (Point G), scribe an arc with the radius equalling length GB. Ensure this arc intersects and overshoots the diagonal line that was drawn in Step 3.
Step 5. Scribe two arcs as shown, one centred at point A, and the other centred at point B, and set the radius of each to the point at which the arc in Step 4 intersects the diagonal line that was drawn in Step 3.
Note: Line AB has now been divided in extreme and mean proportion. That is, Length AB : Length AI : Length IB = 1.618… = The Golden Ratio.

Step 6. Centred on the intersection of the two arcs, scribe an arc as shown.
Note: Take care to set the radius to the top of the smaller arc that was drawn on in Step 5.
Step 7. Draw a line from the centre of the bottom-side of the square to the top-right corner of the square. From the same point at the centre of the bottom of the square, scribe an arc that has a radius equal to half the width of the square.
Step 8. Centred at the top-right corner of the square, scribe an arc with the radius set to where the diagonal drawn in Step 7 intersects the arc drawn in Step 7.

Step 9. Draw a line from the bottom-right corner of the square to where the arc from Step 8 intersects the arc from Step 2.
Step 10. Draw an arc centred on the intersection of the line drawn in Step 9 with the vertical centre-line of the square.
Note: There is no need to draw the entire arc; just the arc that will form an intersection point for the top-left and top-right corners of the rectangle.
Step 11. Draw an arc centred at the top-left corner of the square with a radius set by the intersecting curves above. Repeat this curve on the right side.

Step 12. Connect the points of the rectangle.
Result: We have now established the location of Points C & D. The resulting rectangle is the 54˚ rectangle.
Categories: : Design Graphics, Geometry, Golden Ratio, Islamic Geometry, Surface Pattern Design